Watching today's final launch of the space shuttle Atlantis sparked a million questions and re-enactments. My husband answered the questions and did this shuttle inspired project with the boys.
You need 6 wine corks, toothpicks and a small screwdriver (for eye glasses) or even a nail will work.
Parents (or an older child with guidance), carefully press a hole into the top of a cork about 1/2 inch deep.
Break a toothpick in half, then insert the thicker half into the hole (halfway).
Next, press a hole into the top of another cork, then add them together by pressing the other end of the toothpick into the hole. Repeat these steps until three corks are attached to each other.
Now take the fourth cork and pres a hole into the side toward the top. Then add half a toothpick.
Press a hole on the side, toward the bottom of the three attached corks, and connect the forth cork to it.
Repeat this step with the other two corks.
Now have your child paint the rocket (tempera paint) or even color the rocket with markers.
Now go to the moon! If you use paint and your child is a little impatient while it drys, you can visit www.nasa.gov and watch real shuttle footage and missions to space. The boys loved it!
This blog is dedicated to finding interesting activities for parents and kids to do together. Every weekday I will find something new and interesting to do with my kids, and tell everyone about our experience. These activities range from creative projects to great excursions. Ideas from parents and kids around the world will also be posted. Let's all learn from each other!
Showing posts with label art. Show all posts
Friday, July 8, 2011
Tuesday, June 28, 2011
Pinwheels
This one took a few tries, but the end result was great. Hopefully, I have worked out the kinks for you. You will need:
paper (a piece of printer paper is what we used, but get fancy if you like)
scissors
thumb tacks, push pins, straight pins or something like these
crayons, markers and any additional decorating material
un-sharpened pencils with long, firm erasers
Gently bend a piece of paper in half. You don't actually want to crease the paper all of the way, you are only making a guide-line. Take the folded paper, and gently bend it in half. Unfold, and cut along the light guide-lines.
After cutting, you will have 4 quarters of paper. Take one quarter, and follow the same bending process, except don't cut yet. Bend the quarter in half, then again. The light creases will show you the center of the paper.
Take the quarter, and cut from a corner of the paper into the center. You don't want to go all the way to the center, imagine a circle in the center that is about 1 1/2'' to 2'' and stop at the edge of that circle. Start at each corner, and repeat. You will end up with 4 triangles, connected by a circle in the center of the paper.
Decorate the quarters that have been cut to "almost" the center.
Take the edge of a triangle on the quarter, and bend the paper toward the center. Skip the other side of the triangle. Go to the next edge, and repeat. Every other edge will be gently bent toward the center.
Hold the corners together at the center of the paper, and push a tack (or whatever device you are using) through the bent corners and the center.
Then, push the tack into the side of a pencil eraser.
Ta- dah, pinwheel.
What I learned:
if the pinwheel is leaning against the pencil, it will not work well,
if the paper is "folded" instead of "bent" it might not work well,
if the tack is pushed in too far (to the eraser), it will be slow,
if the tack is not pushed in enough, the wheel will fly off the pencil,
there are small materials involved (tacks), so watch the kids closely,
if the pencil does not have a firm, fully-intact eraser, the wheel will not hold.
By the way, if you use left-over red holiday paper for the pinwheels - "hello", 4th of July! Or, make little pinwheels with patriotic colored paper, stick them in a vase filled with patriotic-colored rocks or marbles, tie left-over red holiday ribbon around the vase - "hello", 4th of July centerpieces!
Please let me know how this worked for you. Contact me at, blog@klinecreative.com. Have fun!
paper (a piece of printer paper is what we used, but get fancy if you like)
scissors
thumb tacks, push pins, straight pins or something like these
crayons, markers and any additional decorating material
un-sharpened pencils with long, firm erasers
Gently bend a piece of paper in half. You don't actually want to crease the paper all of the way, you are only making a guide-line. Take the folded paper, and gently bend it in half. Unfold, and cut along the light guide-lines.
After cutting, you will have 4 quarters of paper. Take one quarter, and follow the same bending process, except don't cut yet. Bend the quarter in half, then again. The light creases will show you the center of the paper.
Take the quarter, and cut from a corner of the paper into the center. You don't want to go all the way to the center, imagine a circle in the center that is about 1 1/2'' to 2'' and stop at the edge of that circle. Start at each corner, and repeat. You will end up with 4 triangles, connected by a circle in the center of the paper.
Decorate the quarters that have been cut to "almost" the center.
Take the edge of a triangle on the quarter, and bend the paper toward the center. Skip the other side of the triangle. Go to the next edge, and repeat. Every other edge will be gently bent toward the center.
Hold the corners together at the center of the paper, and push a tack (or whatever device you are using) through the bent corners and the center.
Then, push the tack into the side of a pencil eraser.
Ta- dah, pinwheel.
What I learned:
if the pinwheel is leaning against the pencil, it will not work well,
if the paper is "folded" instead of "bent" it might not work well,
if the tack is pushed in too far (to the eraser), it will be slow,
if the tack is not pushed in enough, the wheel will fly off the pencil,
there are small materials involved (tacks), so watch the kids closely,
if the pencil does not have a firm, fully-intact eraser, the wheel will not hold.
By the way, if you use left-over red holiday paper for the pinwheels - "hello", 4th of July! Or, make little pinwheels with patriotic colored paper, stick them in a vase filled with patriotic-colored rocks or marbles, tie left-over red holiday ribbon around the vase - "hello", 4th of July centerpieces!
Please let me know how this worked for you. Contact me at, blog@klinecreative.com. Have fun!
Monday, June 27, 2011
Leaf Transfers
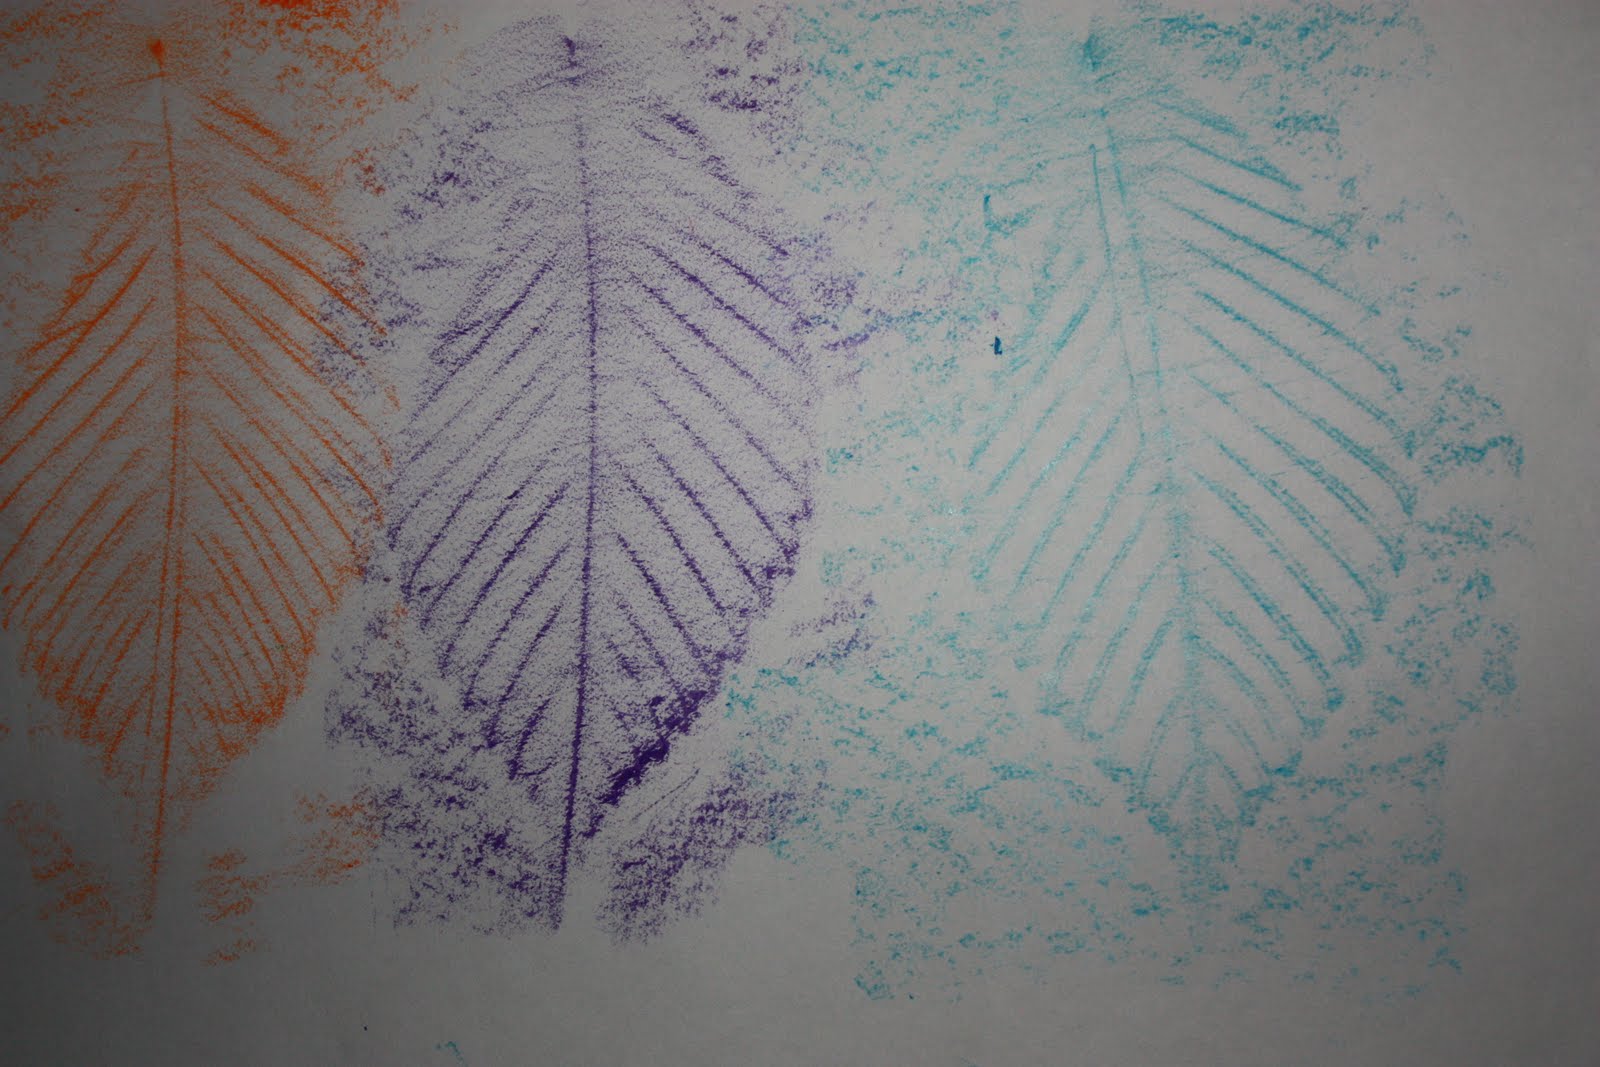
This one can be done using a variety of materials. My husband did this with our kids, they used -
crayons (with the paper pealed off)
paper
a leaf
Put the leaf under the paper (bottom side up), turn the crayon on its side and color over the leaf. Continue moving the leaf (under the paper), and coloring. Experiment with different leaves. A million varieties of patterns can be made. Have fun!
crayons (with the paper pealed off)
paper
a leaf
Put the leaf under the paper (bottom side up), turn the crayon on its side and color over the leaf. Continue moving the leaf (under the paper), and coloring. Experiment with different leaves. A million varieties of patterns can be made. Have fun!
Monday, June 20, 2011
Art Interpretation
Today, my husband John and our five-year-old son visited the Metropolitan Museum of Art's website (http://www.metmuseum.org). They clicked on "collections", and searched using the word "abstract" (no quotes in the search). Our son looked at the paintings/photographs, and chose his favorite. Then, my husband asked him to write down what he saw. He used single words, and made a list (with a little spelling help). Our son used his words, and created his own piece of art, incorporating what he'd seen. This activity can be adapted in so many fun ways!
Best part: Looking through our son's eyes for a moment!
Here is a link to the photo we used,
Best part: Looking through our son's eyes for a moment!
Here is a link to the photo we used,
And here is the final piece,
Friday, June 17, 2011
Play Dough Re-visited
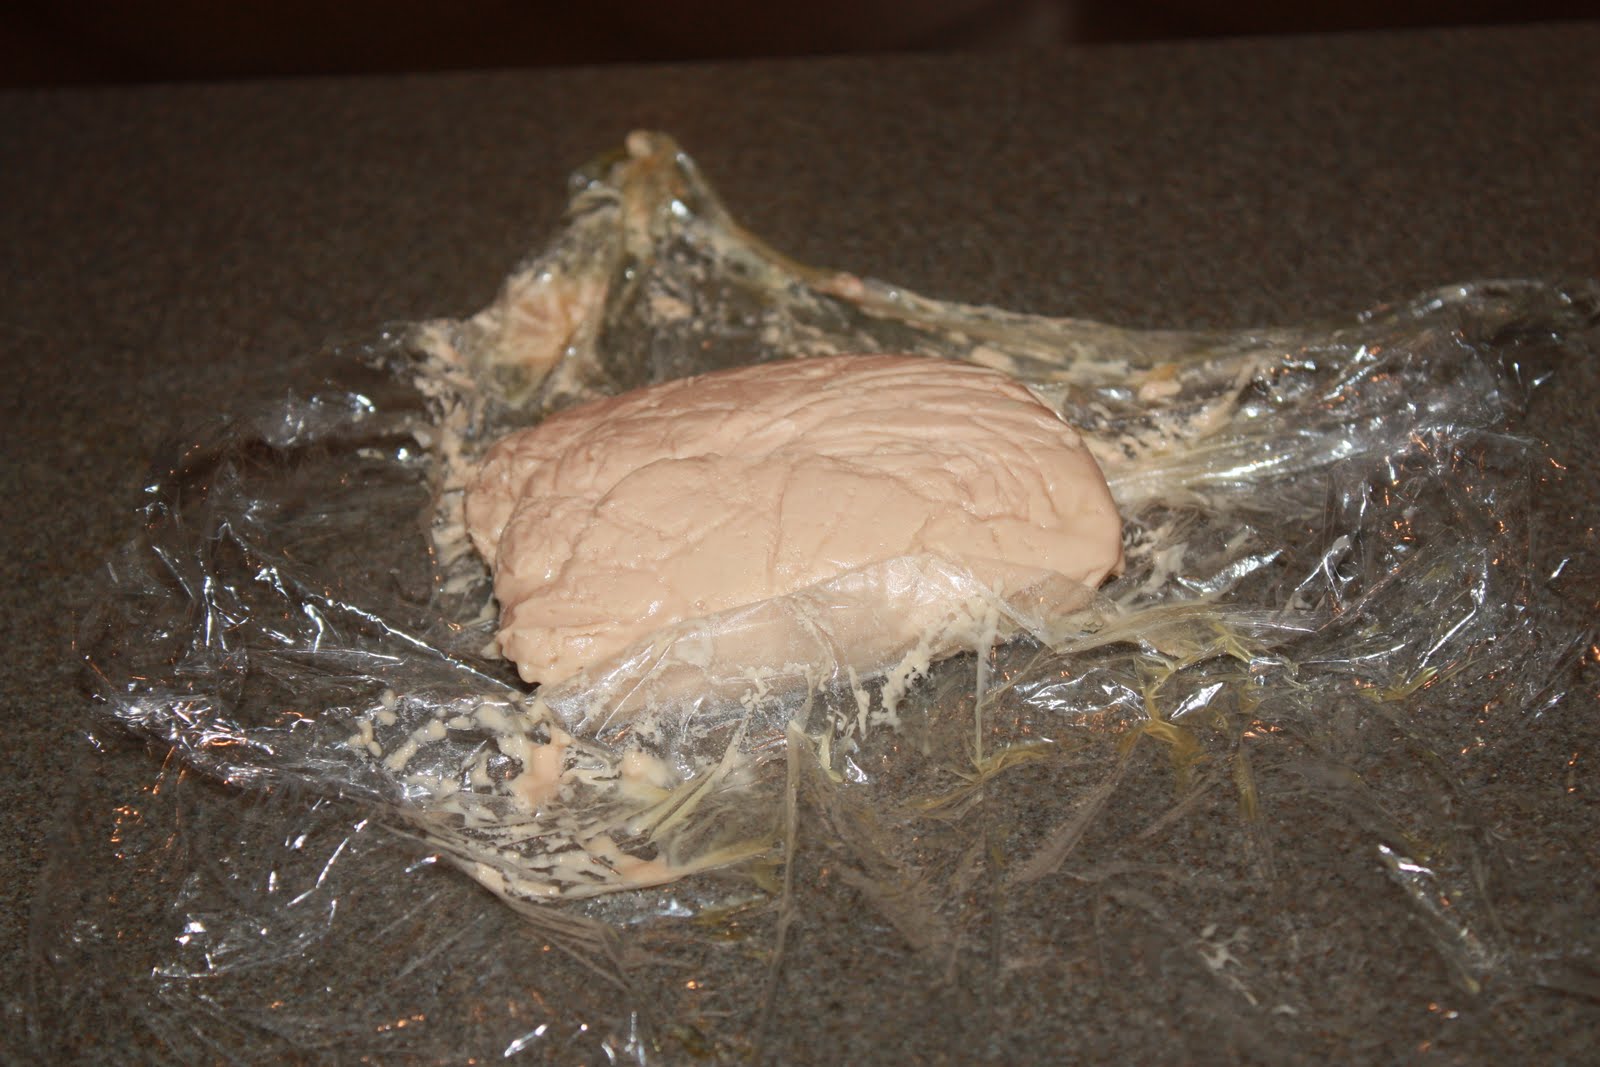
Two days ago we made play dough. When the kids were finished playing, I wrapped it in plastic wrap and put it aside. We broke it out again today. The good news is that it really held up. The color had changed a bit, but we got another day out of the play dough. The bad news is that it smelled just a little funky. Three days is the limit for this homemade play dough!
Thursday, June 16, 2011
Cork Prints
This was an easy one. Gather some corks, water-based paint, water and paper. Dip or paint the corks, then roll or press onto paper. Kids can create specific design, or be abstract. My son and a few of his friends did this today, and had a blast.
Easy prep., easy clean-up and great when little friends are visiting!
Wednesday, June 15, 2011
Play Dough
Today's activity was homemade play dough. I have always avoided this one, because I thought it would be a big mess. Well, the mess was moderate and it was fun. Here is the recipe that I used:
2 cups of baking soda
1 and a half cups of water (divided in half)
1 cup of corn starch
1 and a half cups of water (divided in half)
1 cup of corn starch
food coloring (we did 2 colors)
Directions:
Combine dry ingredients and cut in half. Color each bowl of water with food coloring. Mix each half of dry ingredients with water and mix until the mixture is smooth. Boil each half until thick. Takes about 4 minutes each.
I think I over-cooked mine a little, so it came out a little crumbly. I added a little more water, and kneaded it into the dough. Play dough magic!
Best parts:
15 minutes of work
2 hours of play
moderate clean-up (I kept it confined to the counter)
No bad smell!
Let me know how yours works out!
Subscribe to:
Posts (Atom)