Showing posts with label july 4th. Show all posts

Saturday, July 2, 2011

July 4th Bean-Bag Update

The glow-in-the-dark paint finally dried!  Today, I made the bean-bag.  Now remember, I cannot sew.  I really cannot sew, not even a button.  But, I made this bean-bag.  As you will see from the picture, the bag is not pretty.  I'm not worried.  It will be dark.  And I have to tell you, I threw this thing around and made sure that it stayed together.  It did.  If I can do this, you can do it better!

First, I had cut a rectangle of material.  I'm not sure what kind of material, I picked it from the "remnants" bin at the fabric store.  Then, I applied several coats of glow-in-the-dark paint.  I allowed drying time, in the light, in between each coat.  My son helped with this, and thought it was just great.
Today, I folded the painted material in-half and sewed two sides together.  I didn't do anything fancy, like turn it inside-out.  I folded the edges over and stitched. 
While I was looking for dried beans, I realized that we had none.  I know, I have been talking bean-bags for 4 days.  Well, onward and upward.  We used dried lentils.  It's a good thing I folded the material before stitching, lentils are REALLY SMALL. 
We poured the lentils into the bag (be careful, they run all over).  Then, I stitched together the open side of the bag.  We shook and threw the bag, and only 1 lentil fell out. 
Tomorrow night (July 4th), we will have a glow-in-the-dark bean-bag toss.  If we end up with lentils on the yard, then so be it (will they grow?)!
Not pretty, but it doesn't fall apart and it glows!

Please send me your success stories, and I hope you all have fun.  blog@klinecreative.com


Friday, July 1, 2011

Glow-in-the-Dark Bean-Bag Toss


 So, the Glow Sticks are great.  But, I have struggled with the bean-bags.  This time, I painted the material early in the day and sat it under light for 2 hours.  I stuck to painting straight-forward lines and dots.  Then, I painted another coat, the first coat had been mostly absorbed into the material.  I again, let it sit in light. 
I tried the painted material in a very dark room, with black-out shades.  It glowed, but not as much as I was hoping for.
So, I added another layer of paint and let the painted material sit under light.   
The material definitely glowed.  Not as much as the Glow Sticks, but it glowed enough to see where the bag would land in the dark.
The material was too wet to sew, so I will stitch the sides together tomorrow.  I absolutely cannot sew.  I will stitch the sides together by hand, making sure that the stitches are smaller than the dried beans (learned that the hard way last Halloween!).  After I sew together most of the bean-bag, I will fill it with dried beans.  Then, I will sew together the last little part.  I’ll update this blog with the finished bags.
Connect Glow Sticks into circles, and lie them out.  Toss the bean-bags – whoever gets the most into the circles wins!
Or, hang the glowing circles from trees and toss the bean-bags through.

By the way, the Glow Sticks that I “activated” today were noticeably brighter than the ones from yesterday.  For the ultimate glow, wait until the “day of the game” to activate.  These are "activated" by bending and shaking the sticks, not by the use of paint.       

Glow Sticks at 5 Below, $5.00
Glow in the Dark Paint (Americana) at JoAnn Fabric, $3.19
 Kept it simple.  Lines and dots, lots of layers.
The glow-in-the-Dark painted material is visible in the center of the circle.  Hoping for brighter, but good enough for a night-time toss. 
The newly "activated" sticks are brighter than the ones "activated" yesterday.

Bright enough for people to see in the dark, but not for my camera.

Have fun.  As always, I want to hear about your experiences and I am open to suggestions.  blog@klinecreative.com  

Wednesday, June 29, 2011

July 4th Berry Biscuit Tarts


This super-easy recipe is great for a party, or for any weekday!

July 4th Berry Biscuit Tarts

4 c. spelt flour (you can use regular flour, you might need to use a little more) + a little extra for the counter and the cup
2 Tbsp. Baking powder
1 tsp. salt
½ c. sugar + extra for sprinkling ( I use turbinado sugar, you can use any kind)
2/3 c. canola oil
1 ½ c. warm water
1 Tbsp. honey
1 16 oz. container strawberries, washed and sliced
1 11 oz. container blueberries, washed (we had extra blueberries, a smaller container would work)
* ½ c. heavy cream

Pre-heat oven to °375.
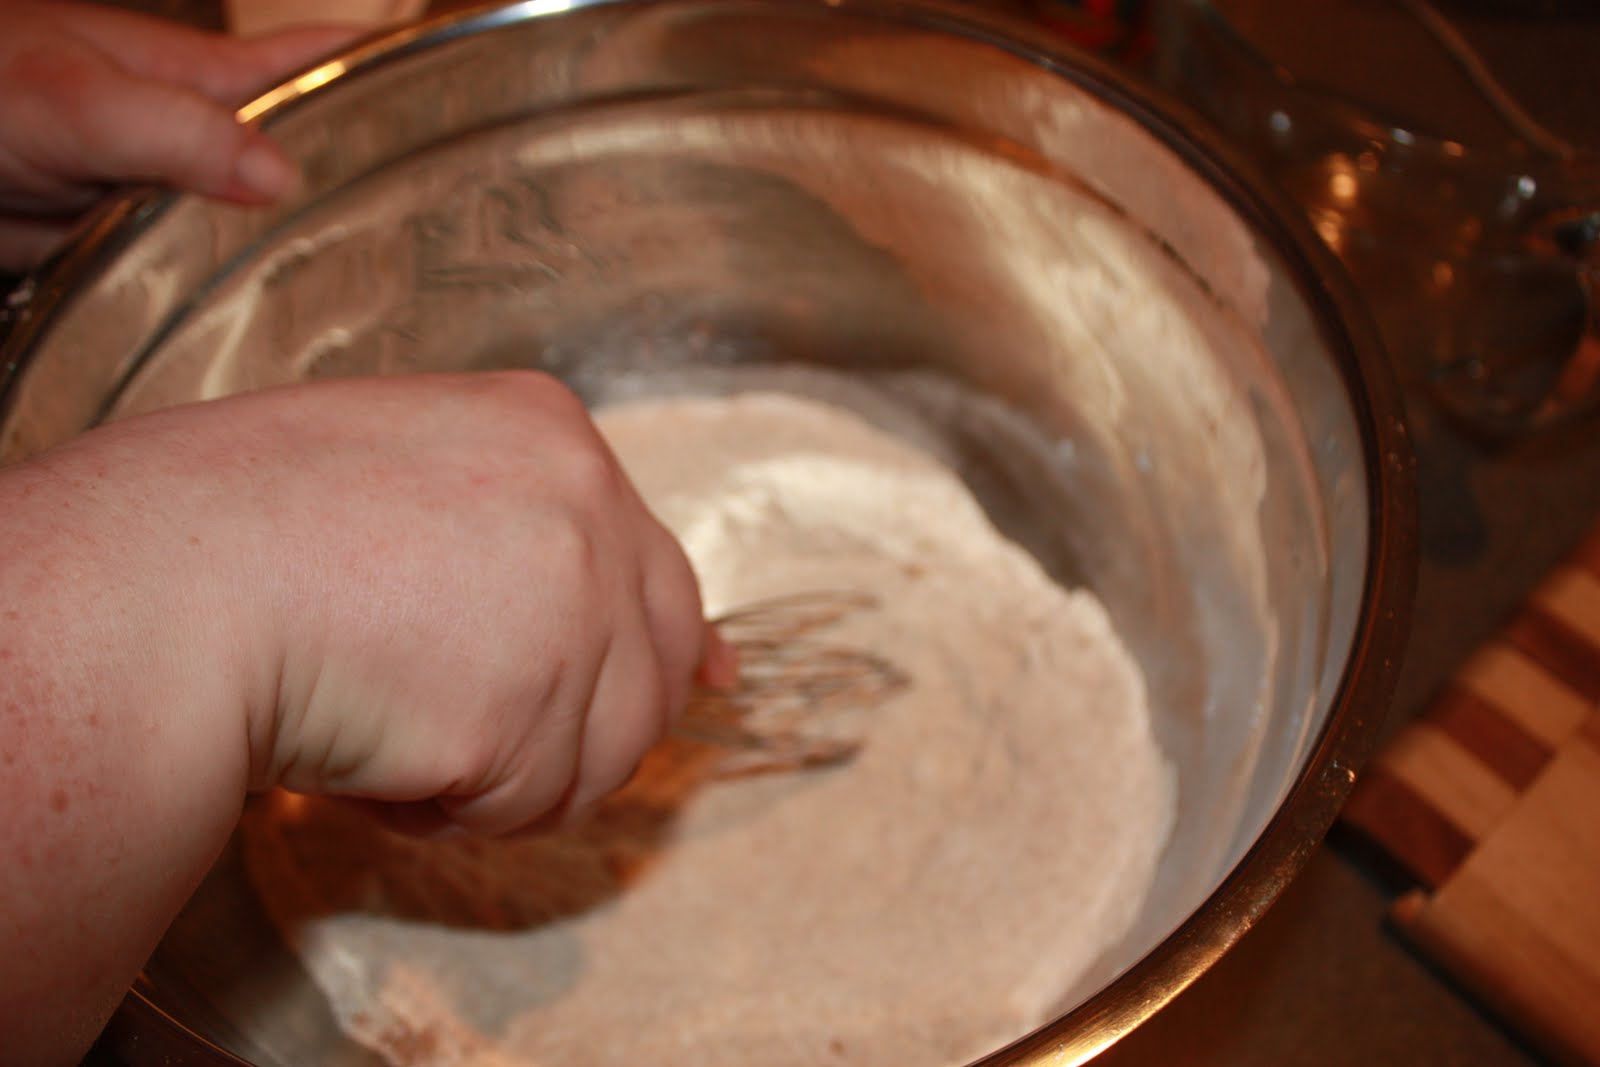
In a large bowl, whisk together the dry ingredients.  In a smaller bowl, whisk together the canola oil, warm water and honey.  Save the cream for later.  Pour the wet ingredients into the dry ingredients, and stir to combine.  Don’t overwork it, just stir until it comes together.
Put a little bit of flour on a clean counter.  Dump the dough onto the flour.  The dough will be really moist.  Fold and turn the dough around in the extra flour.  Press the dough out with your fingers, to about 1’’ thickness.  Dip the top of a cup, or mug, in a little flour.  Press the cup into the dough, and make biscuits.
**Take the biscuits, one at a time, and press out to about ½’’ thickness.  Place berries in the middle of the circle, leaving room around the edge.  Fold the edges of the dough over the berries. 
Place on a parchment lined baking sheet, brush the dough with heavy cream and sprinkle with sugar.
Bake for 8-10 minutes, turning halfway through.
These can be eaten warm, with a fork.  Or, let cool completely and pick them up (works better at a cook-out).
Makes 10 – 12 tarts.     

*- the heavy cream is optional
** - sometimes it’s easier to spread out the individual biscuits right on the parchment lined baking sheet

These are delicious plain, but they are also great with a little whipped cream or drizzled with honey. 

To make whipped cream just beat some heavy cream in a metal bowl.  When the cream starts to stiffen add confectioners sugar, to taste.  If you like you can also add vanilla, almond extract or even a little liqueur. 
By the way, if you stick the metal bowl and beaters in the freezer first, the cream will whip a little quicker.